The Legend of Zelda: Tears of the Kingdom Musanokir Shrine Puzzle is found in the Great Hyrule Forest. It requires you to do a bit of DIY to create your own pendulum devices. Here’s our guide to help you solve the Musanokir Shrine Puzzle in Zelda: Tears of the Kingdom.
How to solve the Musanokir Shrine Puzzle in The Legend of Zelda: Tears of the Kingdom
As mentioned earlier, the Zelda: Tears of the Kingdom Musanokir Shrine Puzzle is in the very center of the Great Hyrule Forest. However, it’s shrouded in mists, and you won’t be able to make your way there without getting respawned back where you came from. The goal, therefore, is to remove the fog completely. You can refer to our Great Hyrule Forest/Deku Tree guide to learn about the steps.
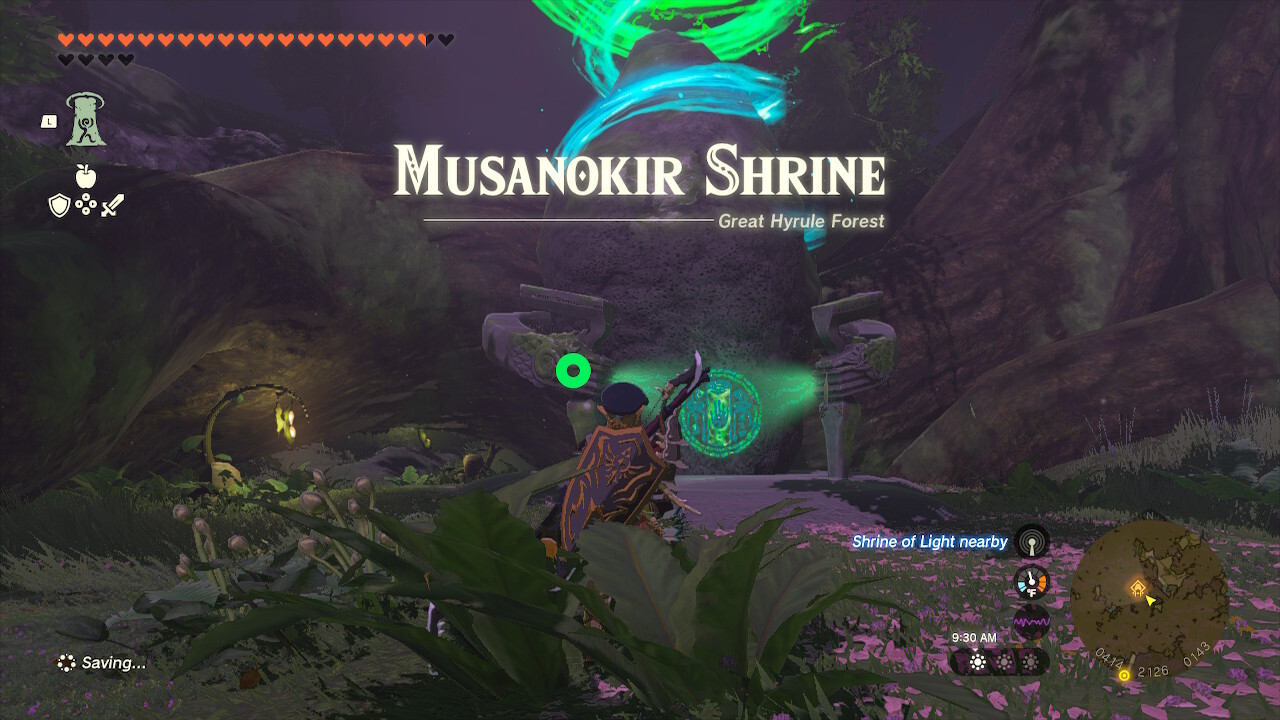
Once you’ve passed through the Depths to reach the Korok Forest, the Shrine should be right next to you. Enter it and you’ll see what lies ahead. The puzzles here involve a ball-and-chain device that can be swung around, though you’d often attach other objects to it, akin to a pendulum.
The first two puzzles are easy enough. The initial puzzle simply requires you to attach the plate, akin to a bridge, so you can cross the gap. The second one requires you to attach the large block, grab it with Ultrahand, and move all the way back before letting go. This will cause it to swing hard at the bullseye target.
Gallery
The third area, however, is where things can get a bit tricky. Basically, there’s a movable section in the center that can be pushed toward the bullseye. There’s also a ball-and-chain device below it. Here’s what you need to do:
- If you want to get the chest, which has a Large Zonai Charge, simply attach and combine various objects until you have a raised incline that you can climb on.
- As for the main puzzle, you’ll want to use three blocks (including the ones from the previous room). Attach them to the central device at separate corners. You should be able to go under one so you can Ascend.
- Next, attach the blocks end-to-end.
- And, finally, bring the log with you by lifting it with Ultrahand (don’t attach it). You should be able to gingerly walk along the central stone rail, all while lifting the log. Simply “bonk” it on the target bullseye, and you’ll get this part done.
Gallery
To be clear, we tried other solutions, including pushing the full central device with all the attachments, done via the ball-and-chain below. But, this didn’t work. As such, we just manually brought the log to the target.
That’s it, you’ve completed Zelda: Tears of the Kingdom Musanokir Shrine Puzzle. Also, don’t forget to take a look at our Shrine locations main guide.
There are numerous mechanics and facets to learn in The Legend of Zelda: Tears of the Kingdom. For more information, you can visit our guides hub.
The products discussed here were independently chosen by our editors.
GameSpot may get a share of the revenue if you buy anything featured on our site.
